For beginning winemaking without special tools or equipment, I’ve found stonefruit wine to be much easier than grape wine. I’ve used the below recipe and method for peaches, little red wild plums, yellow plums, and even feijoa skins!
Materials
The only things you’ll need are:
- A big food grade bucket with lid. (Ideally a 20L bucket, but you can halve or quarter the recipe and simply use a plastic snap lock food container)
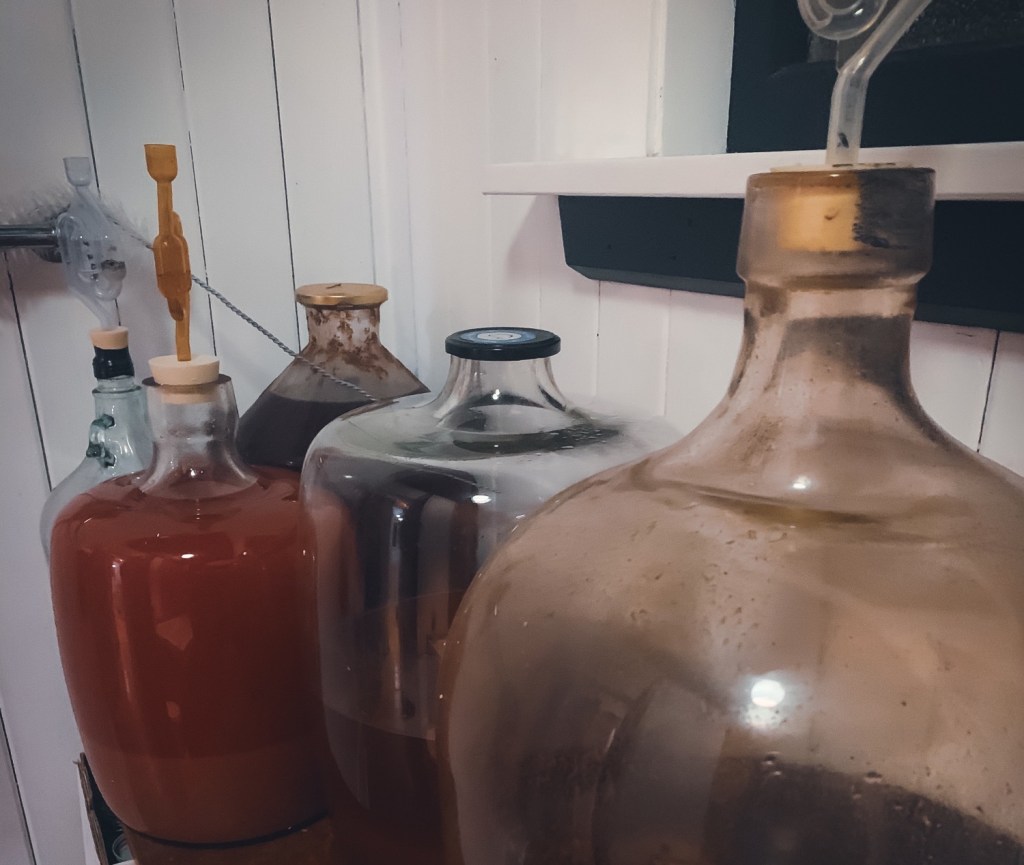
- A large demijohn and airlock. (I sourced some 2nd hand later in my wine-making journey. Early on I just used re-used wine bottles with balloons with pin holes as an airlock.
- A potato masher
- Wine bottles for later bottling
Ingredients
The recipe below is for a 20L bucket. Adjust the recipe accordingly for a smaller container.
- 8kg fruit
- 7kg sugar
- 1 packet wine brewing yeast
- 1 tbsp lemon juice (optional)
Yeast
With the help of yeast, your sugars will convert to alcohol. This includes both the sugar in the fruit, and any added sugar. Some sugar will remain at the end which will give the wine its sweetness.
You can either use the wild yeast on the skin of the fruit, or you can use commercial packet yeast. If using packet yeast, you need to kill the wild yeasts to avoid the two competing. If using wild yeast, you need to make sure you don’t kill them. This recipe assumes you’re using commercial yeast. If you’d like to use the wild yeast, simply use cold water instead of boiling in the next step, and omit the yeast. You can also check out my apple cider recipe which uses the wild yeast. Using wild yeast will make a weaker wine. (closer to 4% alcohol, as oppose to 11-20% using commercial yeast)
Preperation
Rinse your fruit lightly of any dirt. You want to cut out any mould, however bruising and pips is fine to keep in.
Put all your fruit in the sterilised bucket for fermenting.
Add about 1 kettle full of boiling water to the bucket, and begin to mash your fruit up. A potato masher works well, but you can do this however you want. The boiling water helps soften the fruit for mashing, and kills the wild yeast at the same time. Mashing the fruit ensures you get as much of that fruit flavour out as possible.
Once you’ve mashed up the fruit, add more boiling water till it’s just covered. Then begin to add your sugar, about 1kg at a time, mixing in well with each addition. You don’t want any sugar settling on the bottom. Add more boiling water as needed to help incorporate the sugar.
If you’re using a sweet fruit like peaches, you can decrease the sugar content by 1-2kg for a drier wine. If using something like feijoa skins which doesn’t have much sugar content, add at least 2kg of extra sugar.
Once all your sugar is mixed in, top the bucket up the rest of the way with boiling water. Leave at least a couple of centimeters or an inch headspace to allow for the fermentation.
Wait for the bucket contents to cool down to below approximately 40 degrees Celsius. Then sprinkle your yeast over the top. Wait 10 minutes, mix well, and then cover with the lid.
Fermentation process
Let the bucket rest.
Stir it with a clean stirrer twice a day. The stirrer doesn’t have to be sterilised, though it would be best practice to. I personally just rinse it under hot tap water before stirring.
First filter
After 4-7 days, you need to remove the liquid from the bucket, and put it into bottles or demijohns with an airlock. Don’t worry too much about getting pulp into the bottles, as long as there are no large chunks that float. Well, ending up with a few big chunks doesn’t matter too much, but it’s better to avoid too many.
An airlock allows air to escape, but avoids allowing air and bacteria in. Because of the continued fermentation, you need air to escape, or your bottle would explode.
A budget airlock is a balloon with a pinhole inside it. I have done this stage with no airlock, just sitting an overside lid on top to stop any dust or bugs getting inside, and this has worked too. Winemaking is much more forgiving than most people assume!

Keep the wine in the bottles with an airlock till at least it has stopped bubbling. I tend to keep it for 2-4 months + like this. If you forget about it, and leave it like this for over a year, it’s still fine. You may just need to add some more sugar as your wine may end up very very dry.
Second filter / Bottling
Now you need to bottle. You can use a muslin cloth to get the pulp out, as now you don’t want to have the pulp or sediment in the bottles.
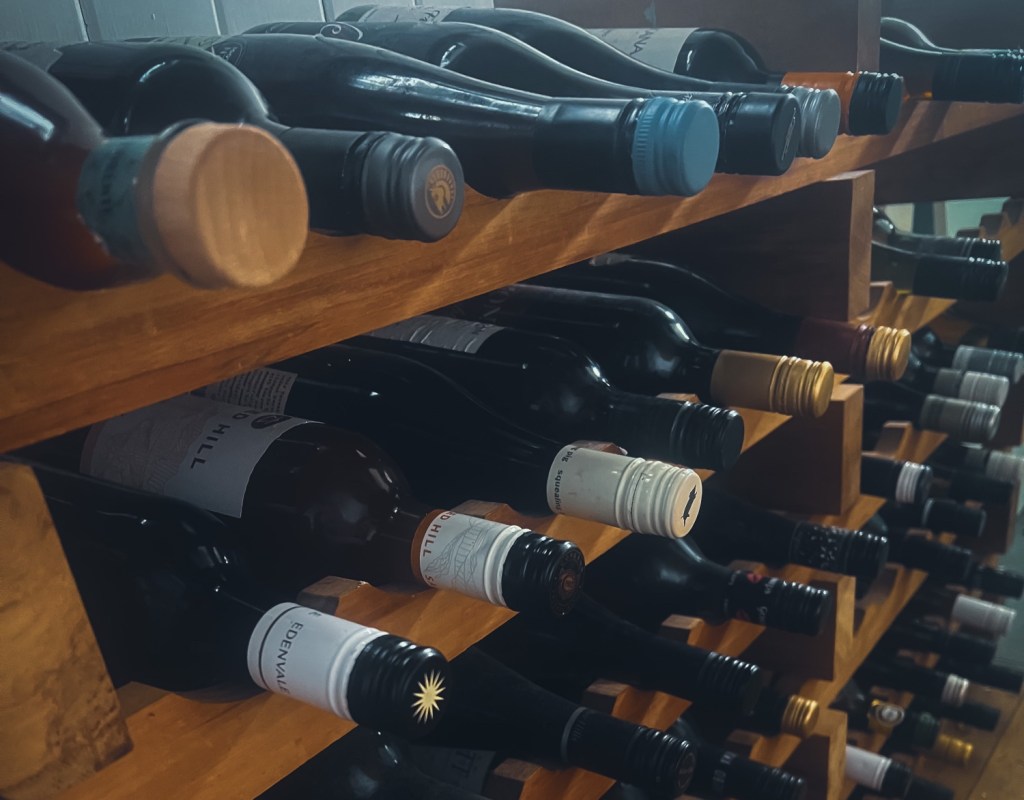
I simply re-use old wine bottles which I got from a local bar. Sometimes I use re-used glass milk bottles too.

At this point, I put lids on the bottles, and rack.
When racking, it is best practice to have the bottles on their sides. This allows you to see if any leaks develop. Leaks mean air is getting into your bottle. If you store bottles upright, you won’t see air leaks and your wine may turn to vinegar without you knowing.
Enjoy!
That’s it! You’ve made your wine! If you want to test your alcohol %, you can use a vinometer at this point. If you use a hydrometer, you do just need to get a before measurement first at the point where you add your yeast in. I find using a vinometer much easier.
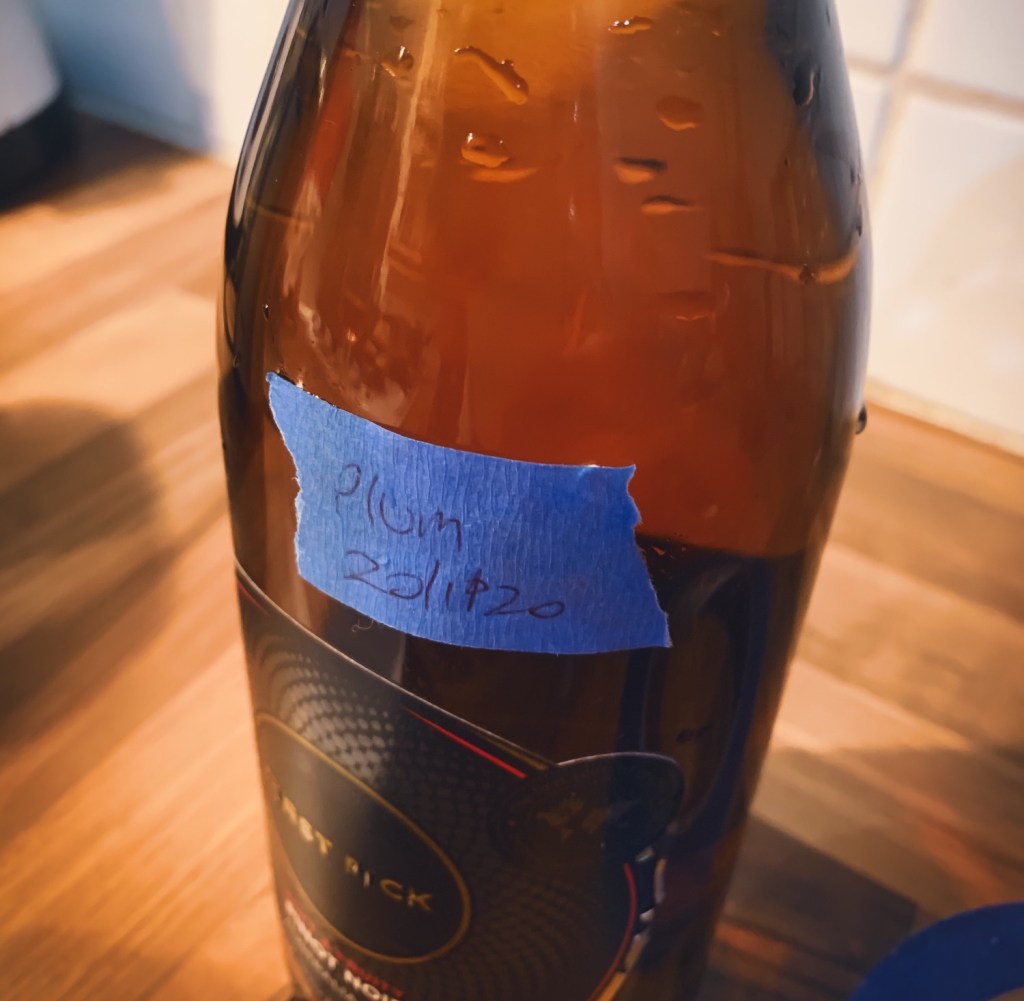
This wine makes great gifts, especially where it was made from your own fruit, or as a gift for the friend who’s fruit trees you got the fruit from.
Tips
- Any equipment that touches your wine should theoretically be sterilised. Putting into boiling water for 5 minutes works, or soaking in a water/sodium percarbonate solution for 10 minutes is a quick no-rinse steriliser solution. You can often get away with just rinsing under the hot water tap. Anything that’s been sitting for ages like buckets and demijohns does get a proper sterilise first though.
- The wine is rather forgiving. Back in the days, there were no airlocks, and the wine sat with open lids. Although it’s good to be careful, you’d be surprised how it can turn out even if you think you’ve stuffed it up or left it too long. Just continue the process, bottle, and wait.
- If your wine tastes funky, and you think it may be vinegar, let it sit longer. Put the lid back on, put it back on the rack, and taste it later. If it’s wine, the taste will improve with time. If you’ve accidentally made vinegar, the taste will get stronger with time. If you have made vinegar, just use it for cleaning or cooking!
Let me know if you decide to try this recipe!

One response to “The easiest way to make wine”
-
[…] great way to use a large amount of peaches up in one go, and it’s super easy! Check out this blog post for my stone fruit wine […]
LikeLike

Leave a reply to How we preserved 250kg of peaches – Urban Self Sufficiency NZ Cancel reply