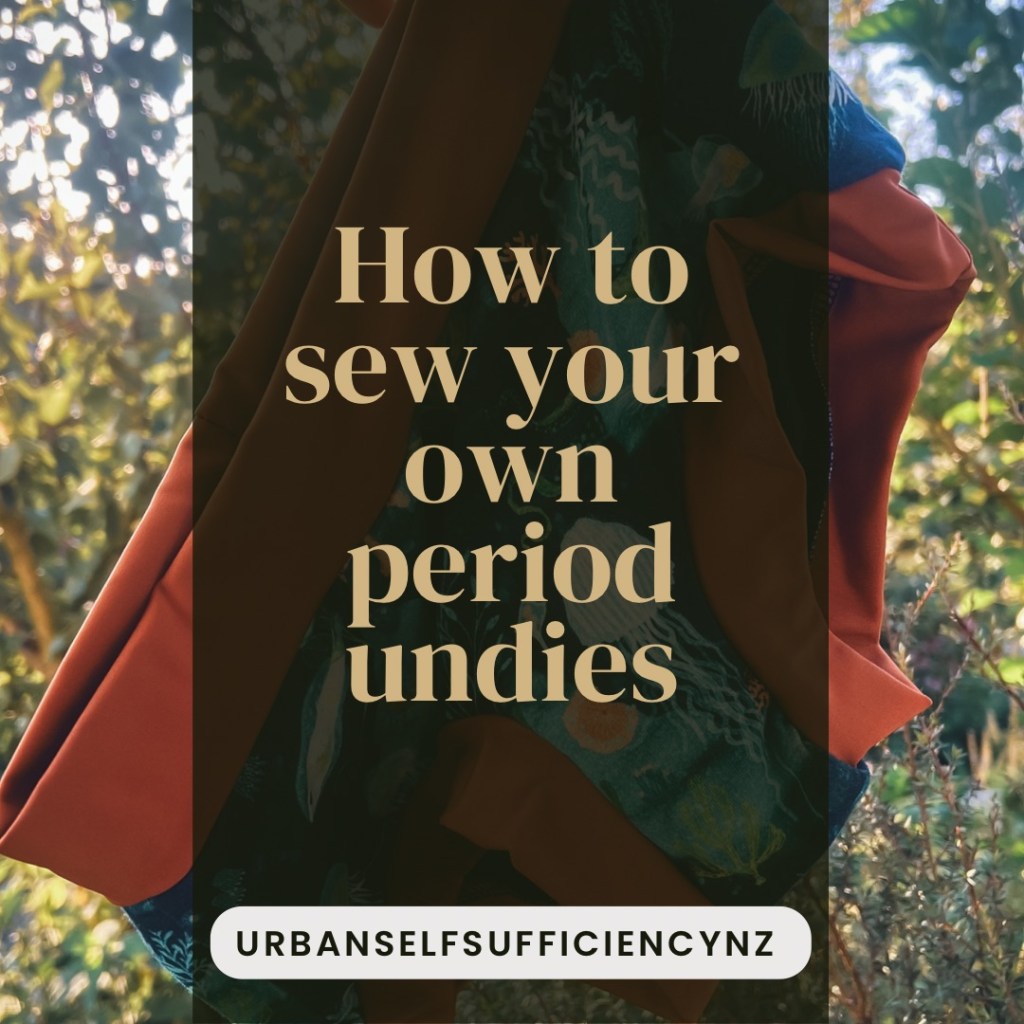
Sewing period undies is actually not as hard as you might think! If you can sew a pair of undies, you can sew a pair of period undies.
I’ve found them to be fantastic as a back-up for use with a cup, or for use after birth or after a miscarriage once the heaviest days are done. Though there’s no reason you couldn’t just use them on their own.
If you’ve never sewn a pair of undies before, I would recommend sewing a pair first, and then coming back to this blog post. (Check out the underwear sewing pattern recommendations below first)
To sew period undies, you’ll need a underwear sewing pattern for starters. This can be a self-drafted or a bought pattern. I prefer patterns that have leg and waistbands rather than elastic for period undies. It helps make this a faster sew, and helps with absorbency in the right direction. Some patterns you could use include:
- Peekaboo Patternshop Uptown Women’s Underwear Pattern
- Waves & Wild Wonder Undies Pattern
- Stitch Upon A Time Scrundlewear 2.0 Women’s Underwear
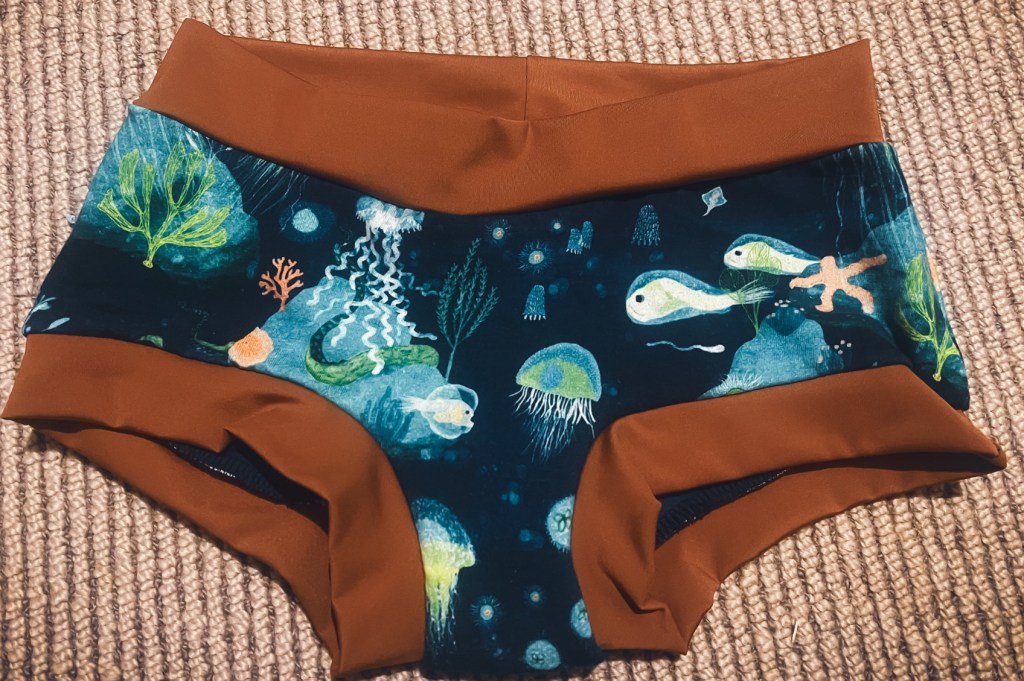
How the layers will work
Your undies will be made from 4 layers.
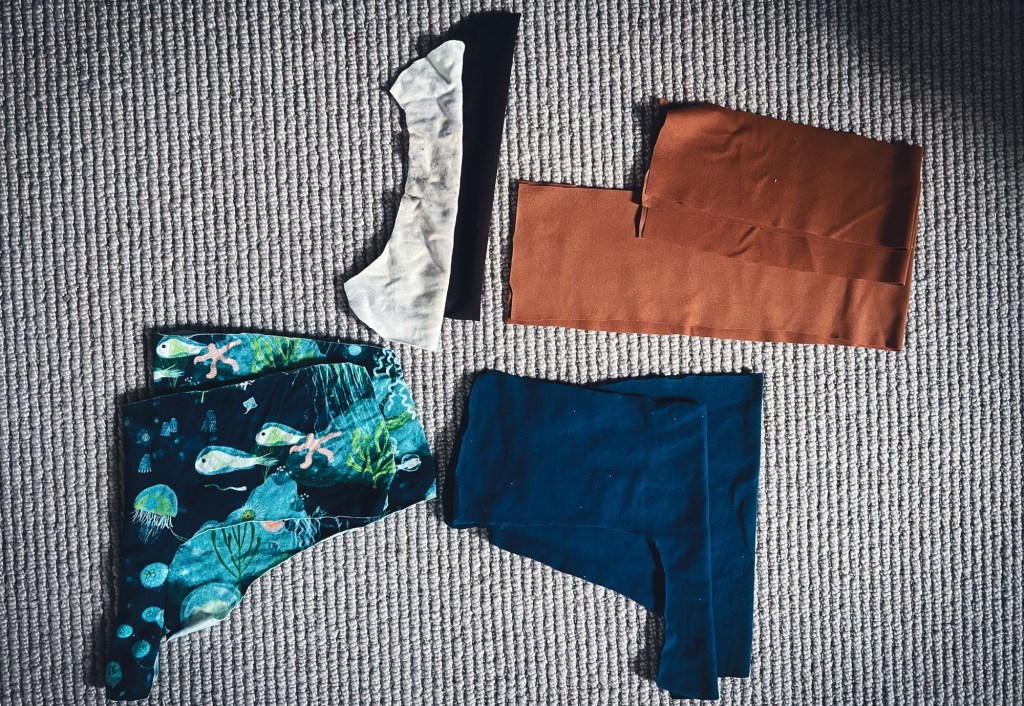
A skin layer: I find cotton lycra to be best for this. Alternatives would include bamboo lycra or merino lycra. It must be a fabric with enough stretch for your sewing pattern that lets liquid through or is absorbent, and also isn’t unpleasant against the skin wet. I feel like merino lycra would be more ideal, however due to the washing involved, tend to stick with cotton lycra.
An absorbency layer: This doesn’t need to have quite as much stretch as your sewing pattern calls for, given that it’ll only be used as a pad inner, you won’t be lining the whole undies with it. However it does need to have some stretch, and the more stretch, the more comfortable the undies will be. Bamboo lycra french terry is my preferred fabric to use.
A waterproof layer: The best option for this is PUL – the same fabric used in cloth nappies. It has some stretch to it which helps with the movement of the undies, and is waterproof.
An outer layer: This is just your normal underwear fabric. I prefer natural fibers like cotton lycra for this too, however you can go for synthetic for this layer if you’d prefer. As long as the fabric has enough stretch for the sewing pattern.
You’ll also need some fabric for the leg bands and waistband. I prefer nylon lycra or another synthetic very stretchy fabric for these, as synthetic fabric helps with moisture wicking into the sewn-in pad rather than into the leg bands. It also helps with longevity of the undies. But you can use cotton lycra instead if you’d prefer.
Step One
Cut your underwear pattern out. You want to cut your leg bands and waistband as the pattern calls for. Then cut a front and back from BOTH your skin layer and outer layer of fabric. You don’t need to cut any liner pieces, as your skin layer is a full liner.
Step Two
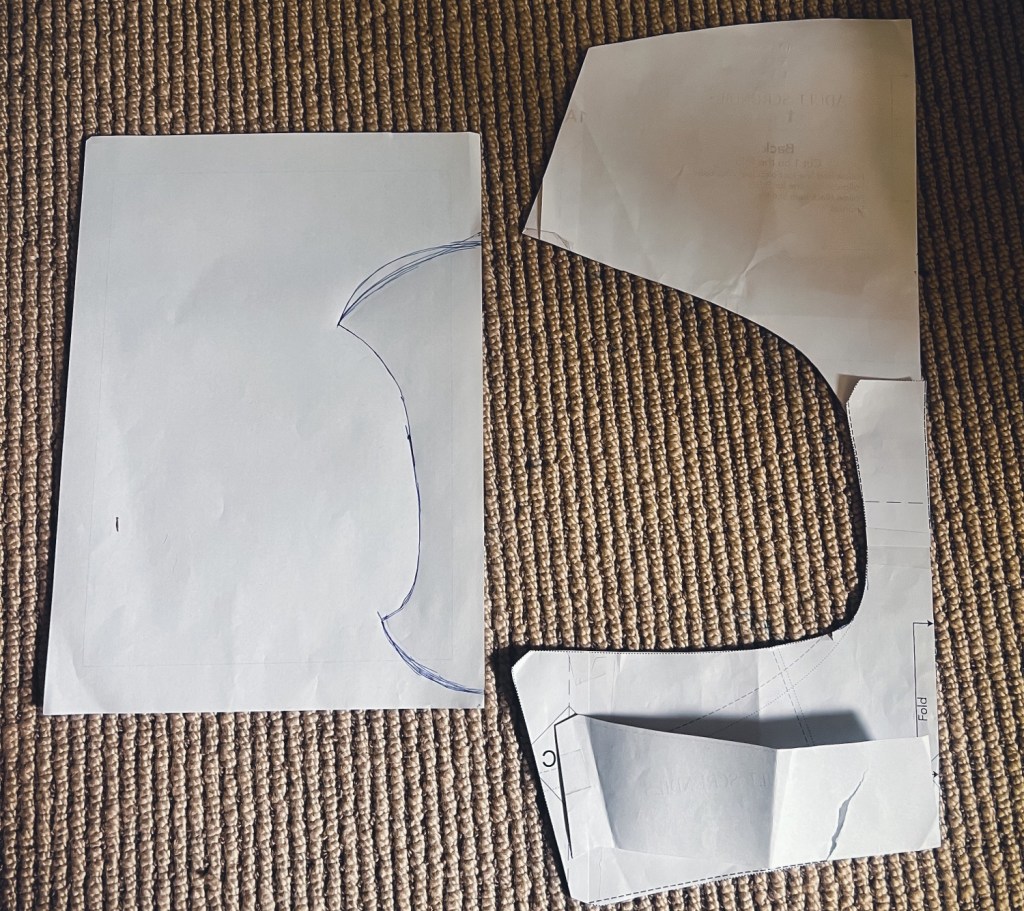
Cut your pad pattern piece out. The best way to do this is to join the front and back pattern pieces together, allowing for the seam allowance, and trace a pad on another piece of paper. You can overlay a cloth or disposable pad over the underwear pattern to help you.
Step Three
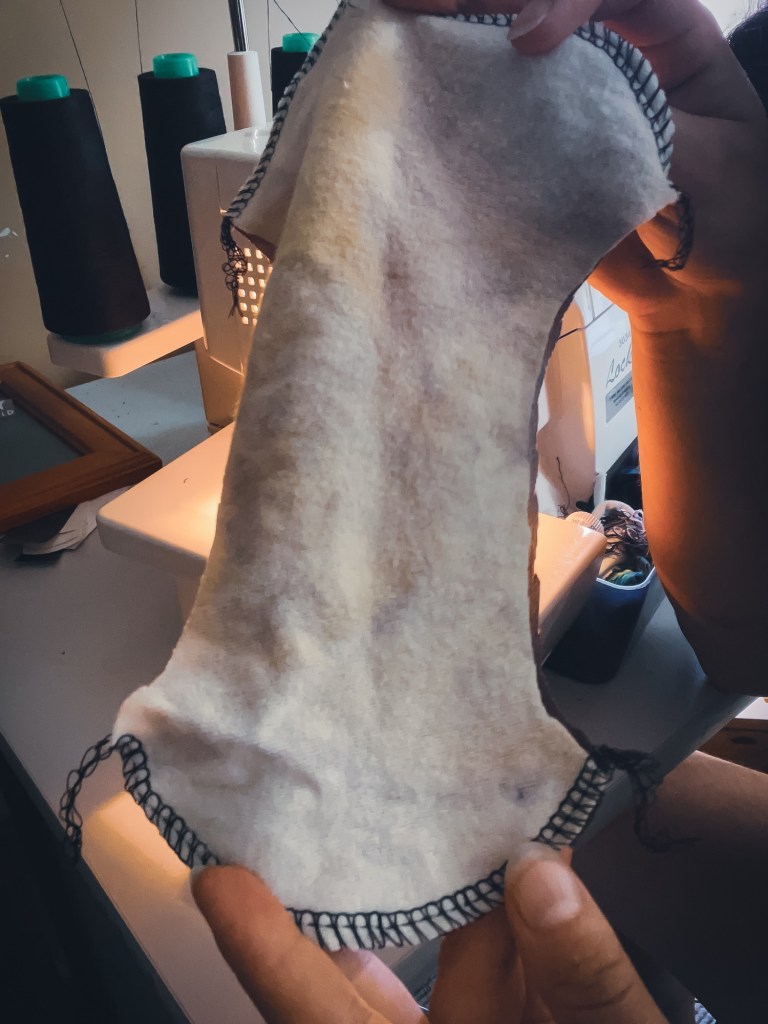
Use the pattern piece you made in step two, and cut both your absorbency and your waterproofing.
You should now have pattern pieces as below:
- Underwear front piece in both inner & outer fabric
- Underwear back piece in both inner & outer fabric
- Leg band x2
- Waistband
- Absorbent pad piece
- Waterproof pad piece
Step Four
Overlock your absorbency and waterproof layers together. If you don’t have an overlocker, zig zag stitch on your sewing machine.
Step Five
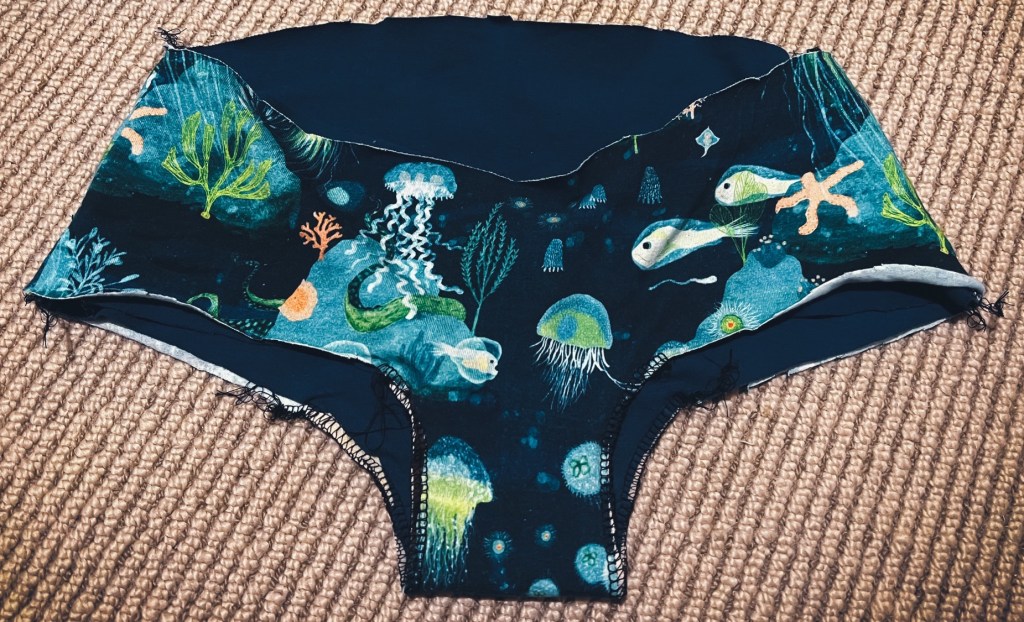
Join your undie front + backs together. Do this separately for both the inner undies and outer undies.
Step Six
Lay your underwear out as it will go together, with the outer underwear layer, inner pad, and inner underwear layer. Use a basting stitch (or thin overlock) to join the pad into the underwear.
Step Seven
Attach the leg bands and waistband.
And that’s it!

Leave a comment